Showing posts with label soldering. Show all posts

Sunday, April 10, 2016

C64 G - Black screen :(

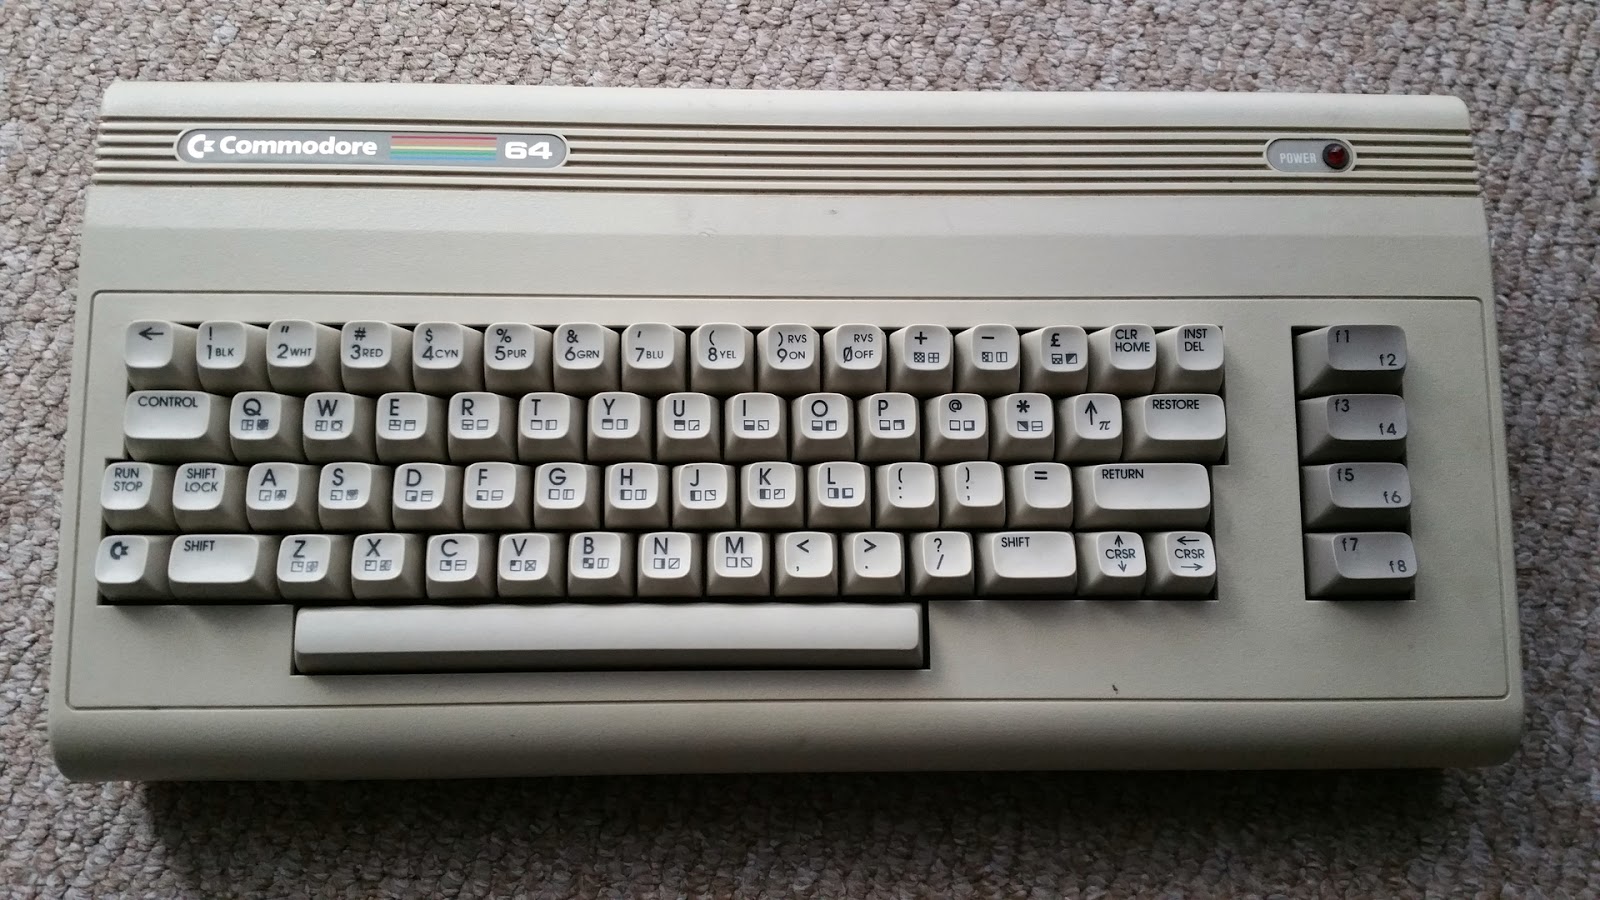
I got my hands on a C64 G, a nice and beautiful one. Warranty seal was untouched so I had high hopes when I turned it on... then nothing happened.


Ok, that's bad.
I quickly plugged in another PSU and voila, the machine was... almost alive.
Black screen, nothing else.


That means, I had to remove the warranty seal and check what's going on inside the C64.
The memory chips were heating up very quickly, so it seemed obvious they were defective.


Others were fine, no presence of overheating so I thought the solution will be simple.
I started to search for replacement chips and sockets immediately.


Ordered a pack of sockets (sidenote: it's much cheaper if you order 20+ pieces than order only 2...) and finally found XX464 memory chips as well for a good price. So, I removed the defective chips and soldered the sockets.


And...
After memory replacement it still doesn't work :(
Black screen.
So I have to dig deeper and find out what might be the problem.


I even tried to touch the G-spot but didn't help :(
 

.....


Today's music: X Marks The Spot - 64k Intro by Portal Process

Saturday, December 19, 2015

Lemon. aka. "Winners don't use AGA"

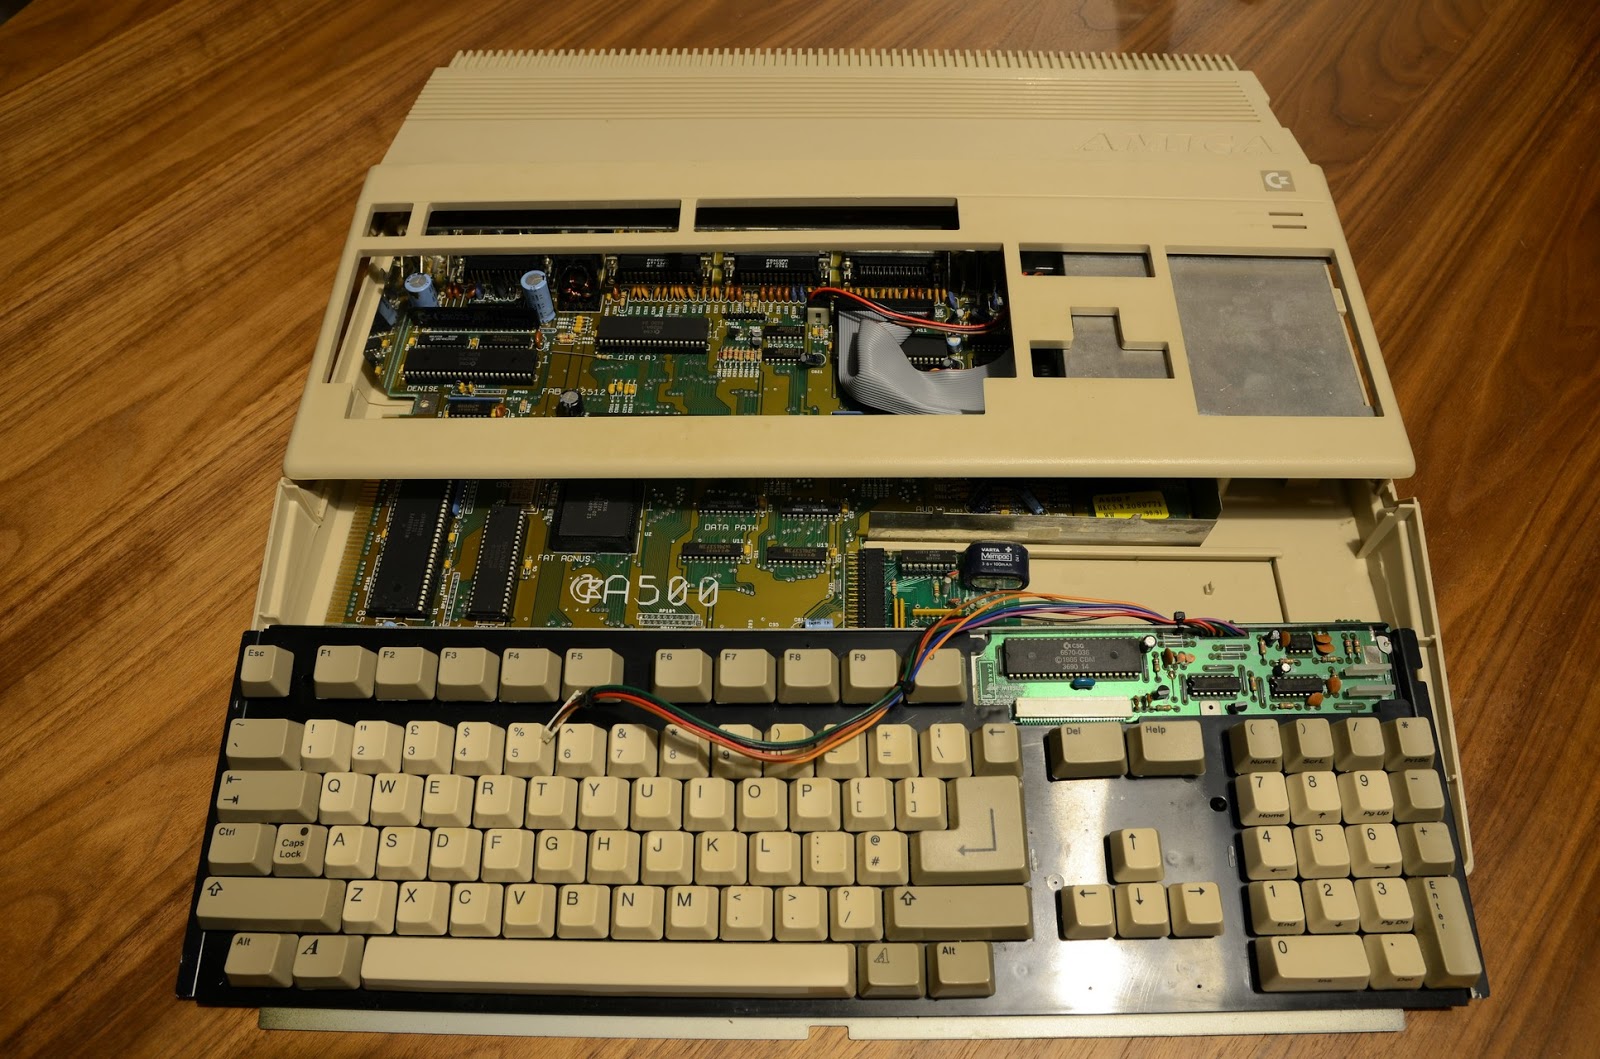
I've met with the Amiga somewhere around 1993 where one of the guys in the youth hostel showed us some great demoscene productions on his A500. Since that point I had the good ol' C64 and we used 386 PC's at school. The difference between the PC and Amiga was remarkable. The graphics, the audio, the games... everything was just... simply wow.

More than 20 years later I bought an A500. It was just about time.


The machine is a bit yellowed but who cares, I'm gonna retr0bright the sh*t out of it. The fl0ppy disk is broken, it doesn't load anything just gives a "corrupted floppy disk" error message. Whatever, I might gonna invest into a Gotek drive later. I have an Amiga 500! :)

However, the most important part is the 512kbyte memory expansion. These expansions usually as old as the Amiga itself and the mounted battery starts to leak. Badly.


After some research I found that this is normal, as these batteries weren't made for eternity, obviously. If you are lucky then the acid doesn't eat the circuit - and I was lucky.

The leak wasn't _that_ bad, it was just _bad_. Removed the expansion, it was stuck a bit bit I used the force (pun not intended). And desoldered the leaking battery and removed the infected chip as well.


The chip looks like a dead bug but actually it's not dead, just resting. The battery however, is dead.

Side-note: if you have a closer look on the photos you should realize 3 of the 4 similar chips are in a mount but the 4th is not. It's soldered into the panel without a mount. Why?

Anyway, the next step was to clean the panel and the infected areas. What would you use to remove acid?

LEMON! Really. This has something to do with chemistry, pH and acid and alkali stuff, whatever. I don't know about the exact background of it but I gave it a try and used some real lemon juice to clean the panel.

Cut a lemon to half, squeeze the juice out of it into a bowl, stick an earbud into it then pour a lot of lemon drips into the panel, cover all the acid-areas with the juice. You can hear a bit of sizzling noise, this means the lemon fights with the acid. And the lemon will win, you can be sure.

Leave them fight for an hour, then clean the panel with water, let it dry out for some days and voila.


Actually, I was double-lucky this time because the acid didn't melt deeper into the panel and cleaning was simple, there was not necessary to do some electronic soldering work.

Coming up next: cleaning a slightly yellowed A500 and fix the broken floppy drive.


.....


Today's music: Rink A Dink Redux by LEMON. (A500 demo)

Friday, November 27, 2015

The best mouse in the world

This time the post is about a PC mouse. However, it's ~10 years old so we can call it 'oldschool'.
This is the best mouse. Ever. Built. Really.
This one has built for eternity. It still works. It's not even scratched, not broken, the cable is still intact.

This is it:


It's small, light-weight, ergonomic, the cable is NOT 176451264 meters long and it fits my hand perfectly.

Actually, after 10 year the buttons became a bit worn, sometimes I experienced unwanted double clicks and unstable behavior. But other than this THE mouse.

So I was looking for a solution, this means I disassembled the mouse and checked the micro-switch inside. After a quick research I found that they are very standard switches and still available to buy. Guess what, 5 pieces for 1 GBP. And free postage! Wow, that's... a bargain.

It took 4 weeks for 5 pieces of new micro-switches to arrive from China to the UK but it well worth the wait. Maybe they were traveling using donkeys. I don't know, it doesn't matter at all.

So, I disassembled the mouse, this is how it looks like in pieces:


The screwdriver wasn't inside the mouse, obviously, that's just an extra decoration on the photo.

Grabbed the soldering iron and desoldered the micro-switches:


Then soldered the new ones in:


It's getting easier and easier to desolder/solder small items like these switches. There is not much tin around them and desoldering pump sniffs the tin off from the circuit quickly. Also, not much heating is needed on the connectors.

And I have a perfect mouse again!

(disclaimer: this post is NOT an advertisement and NOT sponsored by the manufacturer of the mouse)


.....


Today's music: Mouse on Mars aka. Maus af dem Mars aka. Egér a Marson

Thursday, November 19, 2015

C64 power switch surgery

A few days ago I saved a C64 C. The owner wanted to throw it out because:

"This is just an old keyboard, it doesn't even fit the PC"

 Indeed.

The case has serious scratch marks and looks like soldering iron or something similar melted parts of it. It has replacement screws that are too long and went deeper than they should and drilled new holes into the plastic...

The C64 was surprisingly in a good condition inside. Almost no dust, motherboard was fairly clean, keys are stiff. However, keyboard holder metal parts were missing and the fuse was blown out.

Replacing the fuse was the easiest part, then I gave it a try, plugged the cables in, and switched the C64 on.

Well, I tried to switch it on. The power switch was stucked in the OFF position, I had to use serious force to switch it ON.

And... after a few breathless seconds and the init black screen...

It's alive!

Everything works fine, except the stiff power switch. I have to do something with it. Why not replacing it to a new one? Yeah, that's a brilliant idea.

The hunt for a new switch was easy, I should consider myself lucky as there was an ad on AmiBay, a guy sold some spare switches for a few bucks. Let's do some serious soldering business again!


Look at those tiny legs, they are easy to heat up and sniff the tin off with a desoldering pump. But the 2 stronger stuff that are not really visible because I was lame and didn't make a better photo... I recommend to use a better soldering iron with 75-80W power at least, it can heat up the tin much faster.

These are connected to the "ground" and are deeper mounted into the motherboard with more tin.

I was afraid I would heat the panel up too much, so I used brute force - and a screwdriver - to remove the switch: heat it up as much as possible AND insert a screwdriver under the switch at the same time.

It worked well and did not cause any damage on the motherboard.

So, next step was to insert the new switch and burn it in. I've chose a very thin tin (hehe, thin tin, hehe...) and a small amount was enough to glue the switch into its place.


It was easy. Really. Even an amateur like me can do it without risking to break anything.


It's not the most beautifully soldered switch ever, but good enough. Those brown burn-a-like spots were already there, I suppose this C64 got some serious electric shock, maybe from a damaged power supply and that burned the panel a bit. This would explain the broken fuse as well.

Now I need to find a solution to the plastic case...


Conclusion:
  • Heat, heat, heat! Need a lot of heat.
  • Use the force IF heat doesn't help.
  • Be careful but be strong with the heated up part.


.....


Wednesday, October 28, 2015

Amiga mouse

There were some pictures about an Amiga mouse in the previous post(s), now it's time to share the complete story.

I received the mouse with an Amiga 500, the seller mentioned yellowed parts and a partly-broken mouse. Well, it looked like I'm going to have some fun with using H2O2 again and practice with soldering some electronics. You can guess, I don't have photos about the original condition of the mouse...

Anyway, I connected the A500 to the tv and *boom* the magic boot screen appeared immediately and the Amiga loaded Workbench from a floppy disk in a minute. That was quite painless so far.

I had a testrun with the mouse to check its condition, well, the buttons were unstable and their clicking sounded broken. As an additional defect the left mouse button didn't work.

I was thinking, would an old but still working PC mouse be a good replacement? Let's ask the internet.
This was the best answer to my question, thanks to a user called Aidan on a random forum:

"Basically the problem is that a PC mouse has all the smarts inside. An Amiga mouse has all the smarts in the Amiga, and the mouse is dumb. You can either build the interface listed, or try and extract the quadrature signals from the mouse and push them down to the amiga."

Okay, then I need new knobs, and after a quick search I found them at AmigaKit.

 C64 C motherboard, Amiga mouse board, 2 C64 power switch and 2 mouse replacement buttons 

I used a basic 40W Weller and a desoldering pump to remove the broken buttons. As this part contains relatively small amount of tin the part were removed quickly and clean. The next picture shows and empty slot and the already inserted new button:


This one shows the replaced buttons together with the old stuff:


Almost ready:


Clean mouse case, right after 3 days of H2O2 and UV light treatment:


I had to cheat a bit with the case because the new buttons are higher and stiffer than the originals and the mouse case became too tight. Used a small plastic piece, cut from the external part of a cable, glued them to the bottom part. Looks like somebody is mad, right? :)


This was just enough to lift the upper part a bit and the buttons can *click*.

There is a small crack on the left button but overall the mouse is nice, clean, white and everything functions as it should. This is the last photo, taken right after reassembly:


.....


Today's music: Amiga demoscene compilation

Saturday, October 24, 2015

Intermezzo

Everything is ready for some serious soldering business: