Showing posts with label replace. Show all posts

Sunday, October 23, 2016

Gotek vs Amiga 500

The Girlfriend 500 - sounds like a cheesy advertisement in one of those weird TV shows, right? - is a beautiful computer of its time and nowadays it still has the charm. I remember, I was around 14-15 years old when one of my mates bought an A500 and we played games, watched demoscene productions all weekend long without pause. I had a C64 back then, we used 386 PC's in school and the difference between the computers were remarkable. While I was still in love with the C64, the PC's were kinda soulless, or how to describe it. The Commodore computers definitely had somekind of charm and personality. Not just because the audio-video capabilities but... I don't have words to describe it. They were just simply better :)

So, I have an A500. Cleaned it from top to bottom, from inside to outside and... It doesn't load any software from any disk, while the same disks work without problem in my A1200.
Captain Obvious here, the A500's floppy drive is broken.

I've read a few articles about fixing it, but I decided to order a Gotek drive with the Cortex Amiga Firmware. It's a clever device and a clever new firmware that might not work with the A500' without further modification. There can be an issue with older Kickstart and/or using the Gotek as additional (DF1) floopy and not primary (DF0).

I simply replaced the broken floppy drive with the Gotek:


And it works. Just, simply works. It's sooooo comfortable to copy .ADF (Amiga Disk Format) files to the USB stick and switch whenever it's needed.

However, the first setup of the USB stick wasn't obvious on the first look but fortunately I was able to gather all the required information from various forums.

The Gotek with Cortex Amiga firmware is not enough on its own, the USB stick needs a file called SELECTOR.ADF.

You can download it from Cortex' page, don't forget to rename the extension to .ZIP: cortexamigafloppyemulator_v105a.docx

The SELECTOR.ADF can be found in \cortexamigafloppyemulator_v105a.zip\CortexAmigaFloppyEmulator\Bootdisk\ folder.
By default it is an empty disk file.

Next step is to download games, demos, whatever you want to run on the A500. One of the best source of demoscene productions is http://pouet.net
Use the "Search Box" feature on the top-right corner of the page.

I downloaded ~100 demos for the A500 (OCS/ECS), but oh noes, a lot of them were .DMS and not .ADF files. This is a compressed Amiga Disk Format, WinUAE can read it without any problem but the Gotek can't. It works with .ADF files only.

Don't worry, there is a solution for that!
ADF Opus and its batch convert option did the job and converted the DMS files to ADF in a few seconds.

Now we need to create a "tracklist" that the Gotek and its SELECTOR.ADF would use for listing/tracking of the .ADF files on the USB stick.

There is a tool called Amiga Gotek Cortex SELECTOR.ADF Edit (pretty long title but it perfectly describes the tool).

  • install SELECTOR.ADF Edit
  • copy .ADF files, including SELECTOR.ADF to USB stick
  • run SELECTOR Edit
  • quit SELECTOR.Edit
  • pause Kaspersky and/or any other virus scanner
  • run SELECTOR Edit again

The tool scans and lists all the .ADF files on the USB stick, now you can move the files from the right-side to the left-side, then click SAVE. This will be your "playlist" and you can select the disk image files with the small buttons on the Gotek drive.

Insert the USB stick to the Gotek, boot up the Amiga. The SELECTOR.ADF will start automatically and you can browse the list and run any of the .ADF files. Yaaaaay, happiness, flawless victory.

I've spent the whole night with watching some neat demoscene stuff and enjoyed the same goosebumps as I had X years ago.

Sushi Boyz by Ghostown:


Rink a Dink Redux by Lemon:

And a lot more of course :)

Now the next step is to mount the Gotek drive into the A500 without drilling, without destroying the plastic case. That's the story of the future, I'll share it with you once it's done.


.....


Today's classic A500 demo: Enigma by Phenomena

Sunday, April 10, 2016

C64 G - Black screen :(

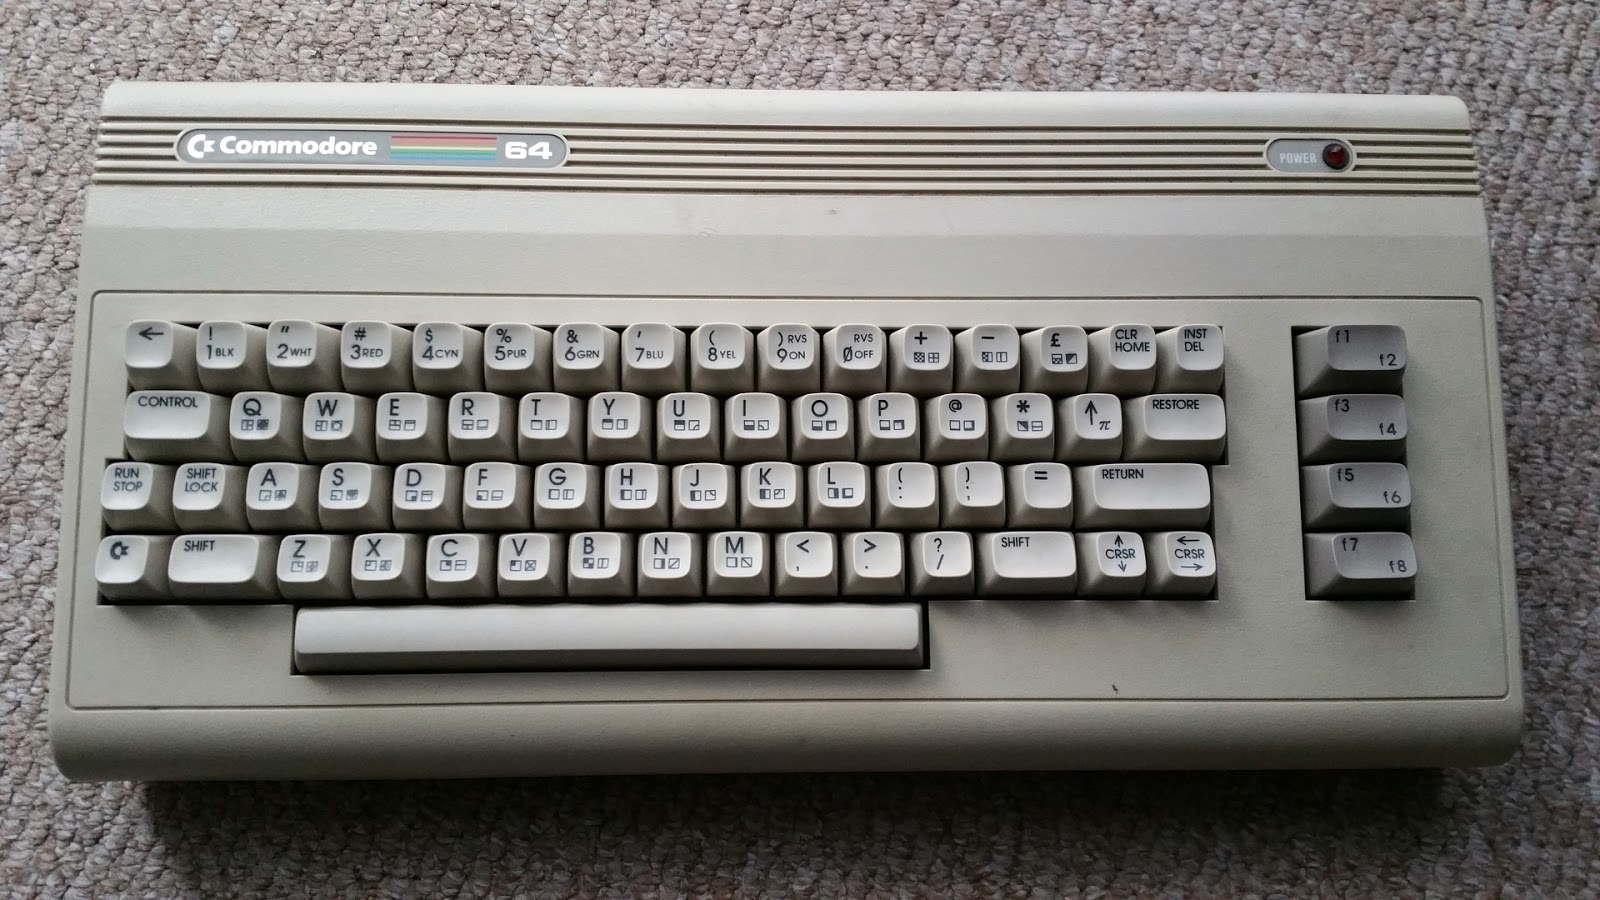
I got my hands on a C64 G, a nice and beautiful one. Warranty seal was untouched so I had high hopes when I turned it on... then nothing happened.


Ok, that's bad.
I quickly plugged in another PSU and voila, the machine was... almost alive.
Black screen, nothing else.


That means, I had to remove the warranty seal and check what's going on inside the C64.
The memory chips were heating up very quickly, so it seemed obvious they were defective.


Others were fine, no presence of overheating so I thought the solution will be simple.
I started to search for replacement chips and sockets immediately.


Ordered a pack of sockets (sidenote: it's much cheaper if you order 20+ pieces than order only 2...) and finally found XX464 memory chips as well for a good price. So, I removed the defective chips and soldered the sockets.


And...
After memory replacement it still doesn't work :(
Black screen.
So I have to dig deeper and find out what might be the problem.


I even tried to touch the G-spot but didn't help :(
 

.....


Today's music: X Marks The Spot - 64k Intro by Portal Process

Friday, November 27, 2015

The best mouse in the world

This time the post is about a PC mouse. However, it's ~10 years old so we can call it 'oldschool'.
This is the best mouse. Ever. Built. Really.
This one has built for eternity. It still works. It's not even scratched, not broken, the cable is still intact.

This is it:


It's small, light-weight, ergonomic, the cable is NOT 176451264 meters long and it fits my hand perfectly.

Actually, after 10 year the buttons became a bit worn, sometimes I experienced unwanted double clicks and unstable behavior. But other than this THE mouse.

So I was looking for a solution, this means I disassembled the mouse and checked the micro-switch inside. After a quick research I found that they are very standard switches and still available to buy. Guess what, 5 pieces for 1 GBP. And free postage! Wow, that's... a bargain.

It took 4 weeks for 5 pieces of new micro-switches to arrive from China to the UK but it well worth the wait. Maybe they were traveling using donkeys. I don't know, it doesn't matter at all.

So, I disassembled the mouse, this is how it looks like in pieces:


The screwdriver wasn't inside the mouse, obviously, that's just an extra decoration on the photo.

Grabbed the soldering iron and desoldered the micro-switches:


Then soldered the new ones in:


It's getting easier and easier to desolder/solder small items like these switches. There is not much tin around them and desoldering pump sniffs the tin off from the circuit quickly. Also, not much heating is needed on the connectors.

And I have a perfect mouse again!

(disclaimer: this post is NOT an advertisement and NOT sponsored by the manufacturer of the mouse)


.....


Today's music: Mouse on Mars aka. Maus af dem Mars aka. Egér a Marson

Thursday, November 19, 2015

C64 power switch surgery

A few days ago I saved a C64 C. The owner wanted to throw it out because:

"This is just an old keyboard, it doesn't even fit the PC"

 Indeed.

The case has serious scratch marks and looks like soldering iron or something similar melted parts of it. It has replacement screws that are too long and went deeper than they should and drilled new holes into the plastic...

The C64 was surprisingly in a good condition inside. Almost no dust, motherboard was fairly clean, keys are stiff. However, keyboard holder metal parts were missing and the fuse was blown out.

Replacing the fuse was the easiest part, then I gave it a try, plugged the cables in, and switched the C64 on.

Well, I tried to switch it on. The power switch was stucked in the OFF position, I had to use serious force to switch it ON.

And... after a few breathless seconds and the init black screen...

It's alive!

Everything works fine, except the stiff power switch. I have to do something with it. Why not replacing it to a new one? Yeah, that's a brilliant idea.

The hunt for a new switch was easy, I should consider myself lucky as there was an ad on AmiBay, a guy sold some spare switches for a few bucks. Let's do some serious soldering business again!


Look at those tiny legs, they are easy to heat up and sniff the tin off with a desoldering pump. But the 2 stronger stuff that are not really visible because I was lame and didn't make a better photo... I recommend to use a better soldering iron with 75-80W power at least, it can heat up the tin much faster.

These are connected to the "ground" and are deeper mounted into the motherboard with more tin.

I was afraid I would heat the panel up too much, so I used brute force - and a screwdriver - to remove the switch: heat it up as much as possible AND insert a screwdriver under the switch at the same time.

It worked well and did not cause any damage on the motherboard.

So, next step was to insert the new switch and burn it in. I've chose a very thin tin (hehe, thin tin, hehe...) and a small amount was enough to glue the switch into its place.


It was easy. Really. Even an amateur like me can do it without risking to break anything.


It's not the most beautifully soldered switch ever, but good enough. Those brown burn-a-like spots were already there, I suppose this C64 got some serious electric shock, maybe from a damaged power supply and that burned the panel a bit. This would explain the broken fuse as well.

Now I need to find a solution to the plastic case...


Conclusion:
  • Heat, heat, heat! Need a lot of heat.
  • Use the force IF heat doesn't help.
  • Be careful but be strong with the heated up part.


.....